Easy Breezy Tutorial – Satin Applique
Tutorial Time… What is satin applique and how do you stitch it?
Stitching satin appliques is really simple. The design files can vary by digitizer but I try to be consistent on ours. Occasionally I will move a detail to the beginning of a design but normally I place fabrics first. It allows me to move on to other fabric prep, hooping, running another machine, etc in that stretch of time I get for the rest of that design’s stitching.
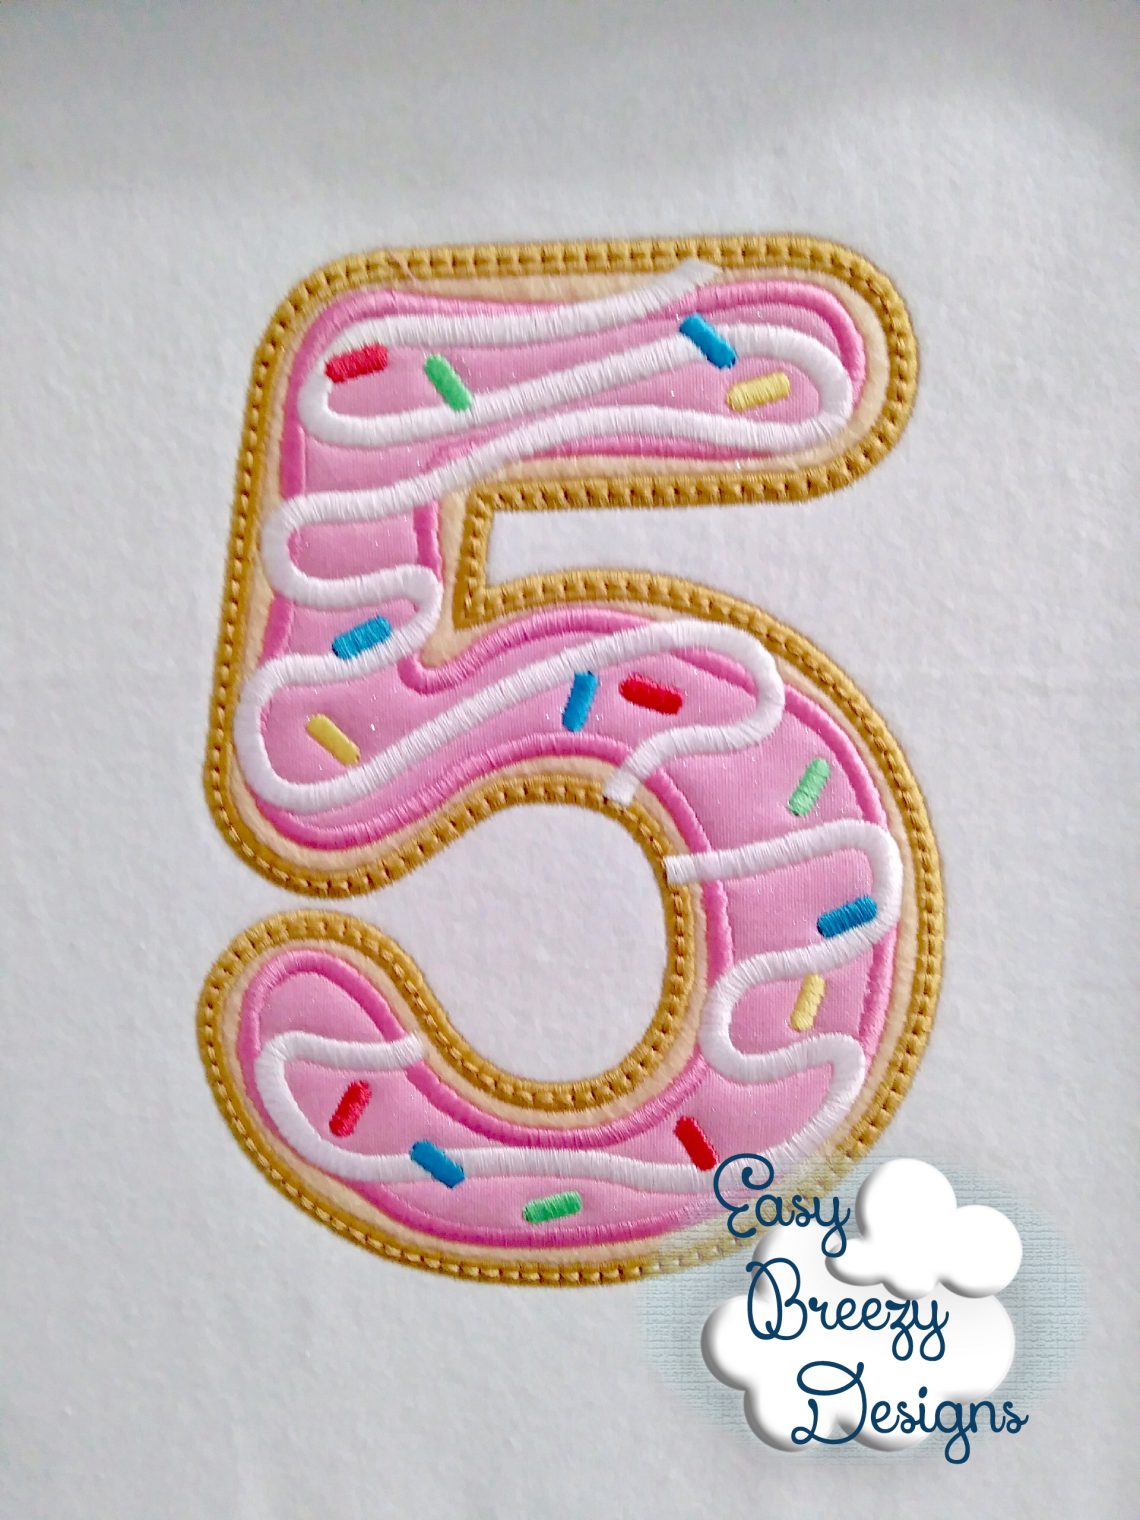
My instructions here are based on my experience with multi-needle machines and I’m using our Donut Number and Alpha for reference on this one.


I’ve included a photo showing the color layers for the donut 3 along with our donut font sample photos. It shows your individual steps and the colors I used but that’s totally up to you. I typically use orange to represent each of my tack down steps so just repeat the necessary color on those from the step before. Remember to put in a stop or do a reserve stop each time so you’ll be able to place and trim fabric before moving on to the next step. (Check out our Raggy Applique Tutorial if you need help prepping your fabrics for applique.)
Donut 3 Applique Steps:
1. Stitch donut outline
2. Place a stop so you can stop to place donut fabric and resume to tack it down.
3. Place stop. Trim the donut fabric then restart to stitch glaze outline.
4. Place a stop so you can place glaze fabric and resume to tack it down
5. Place stop. Trim the glaze fabric then restart to stitch the remainder of the design steps in your chosen colors.
I group as many fabric placement steps together as possible but sometimes we do separate them to give a specific layered look or move something to the beginning of a design to help hide it behind the fabrics.
I hope this helps you understand the style. If you have questions or need any help, please feel free to reach out.
~Cheryl

